Zero Gravity Means You Jump Forever
02 September 2020
It’s been a couple of weeks since my last update and during that time I’ve been fiddling around with a few tutorials. Here are my thoughts on the ones I’ve completed so far.
Choosing a Tutorial
As I mentioned in my last post, the majority of XR apps I’ve read about in the social enterprise sector have been developed in a game engine called Unity. So, I’m learning Unity!
I decided to start with the tutorials on the official Unity Learn website as I’m trying to take advantage of free resources as much as possible. When you install the software it encourages you to select a tutorial to make a microgame (the launcher also features a tab with various Unity Learn content). I went with the FPS Microgame tutorial.
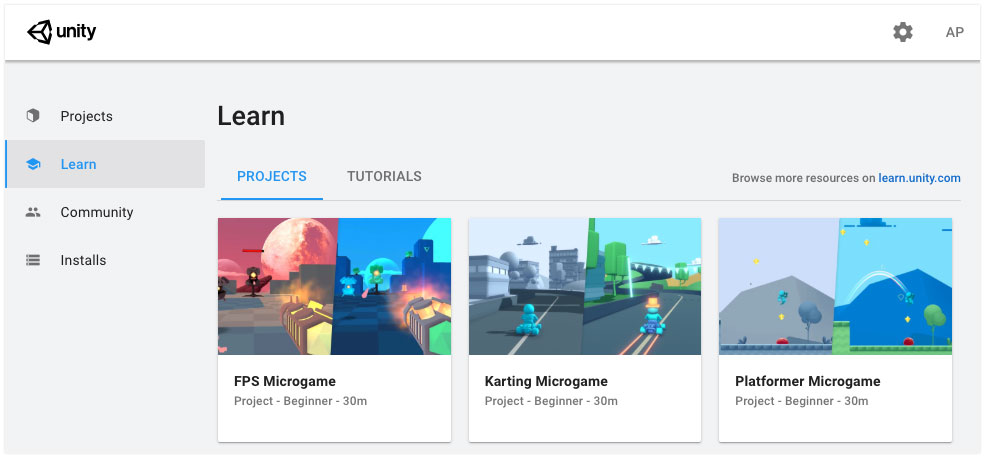
Learn tab of the Unity Hub launcher
Unity FPS Microgame Tutorial
The first thing I noticed about this tutorial is that it’s built into Unity. That means you don’t need to have a browser open with instructions at the same time—which is a big thumbs-up from someone like me with only one screen.
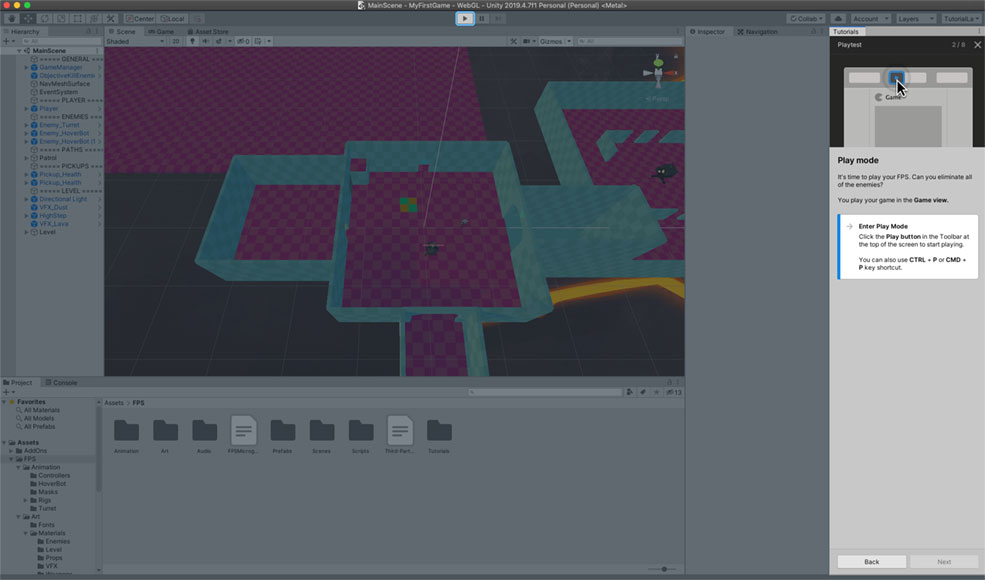
Each step clearly highlights what part of the screen you should be focussing on and the instructions take you through the UI in a slow-paced and easy-to-understand manner.
Honestly, I was a little taken aback by how much they spoon-feed you, but I didn’t mind it. I’d never used a game engine in my life and it was nice to be reminded that everyone starts out this way.
The project already includes a completed FPS microgame and the tutorial shows you how to make various edits to it. After playing around in the game a little, your first task is to adjust the gravity to change how high your player can jump. I tried a few values and then, dissatisfied with the height of my jumps, set gravity to zero.
In hindsight, it was obvious what would happen…
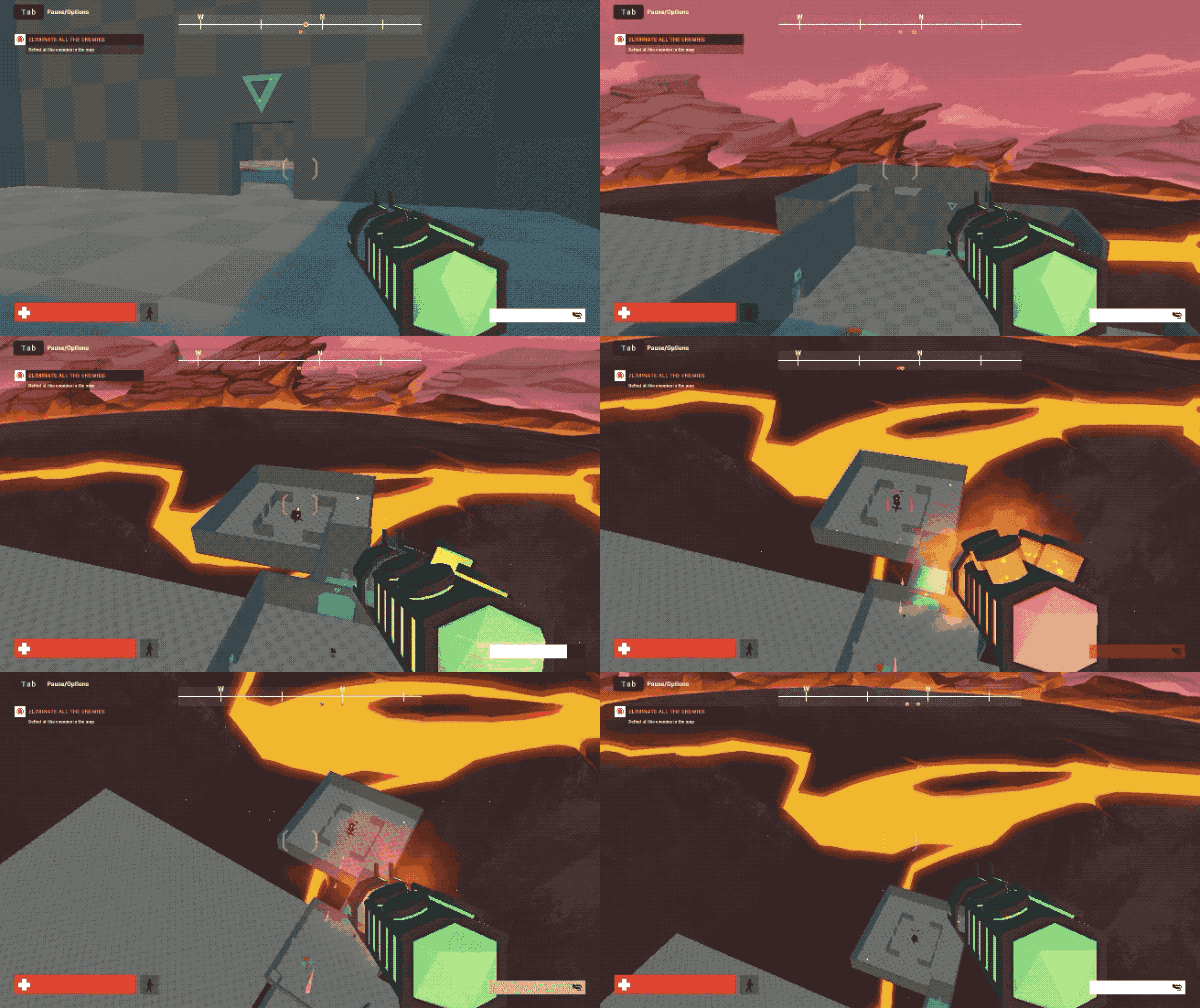
Oops.
The entire tutorial only took about half an hour and I learned how to:
- Navigate the Unity UI
- Insert prefabs1 into a scene and move them about
- Modify an object’s material to change its colour
- Update the navigation mesh after altering the position of objects in a level
- Import and place assets from the Unity Asset Store
- Export the project as a WebGL game
The last step was pretty cool as it uploads your finished game to Unity Connect for other people to play. I didn’t do anything interesting with mine so here’s one by another student if you’d like to try it out.
All in all, this was a really fun way to start using Unity and made me want to delve deeper into the software.
3D Game Kit Lite Tutorial
After the microgame, I wanted to try a tutorial that would make me do some work and give me a better idea of what was going on. 3D Game Kit Lite looked like the right fit.
Although the project is supposed to work in Unity 2018.3.0 or higher, it forced me to download the 2020 version and trying to open it in 2019.4.7f1 resulted in compile errors. I ended up having a few bugs with the ProBuilder (specifically—cubes appearing randomly and refusing to be deleted) but I’m not sure if this was an issue with 2020 or the ProBuilder in general. Either way, I’ll be sticking to 2019 for future tutorials and recommend getting a version compatible with that if you can track it down.
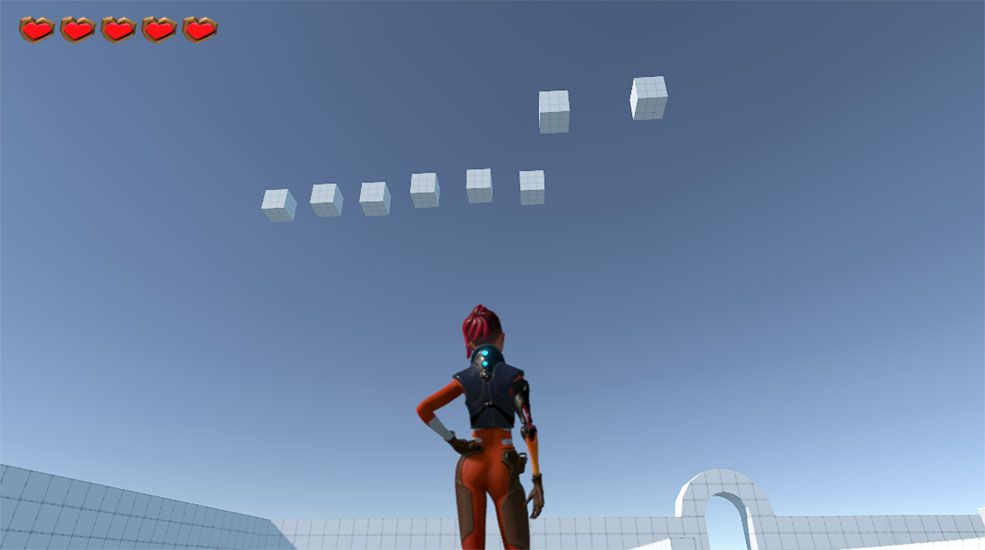
Cubes… so many cubes.
This was a pretty lengthy tutorial so here are the main things I learned:
- The concept of greyboxing (planning out a level with simple shapes)
- Keeping your project tidy by creating empty objects to use as headers in the scene hierarchy2
- Creating game boundaries using box colliders
- Using Polybrush to sculpt a mesh into terrain
- Adding interactive assets with gizmos to a scene and adjusting the settings
- Setting up pre-scripted triggers, command receivers and counters to allow objects to interact with each other (ie. a switch that opens a door)
- Adding enemy prefabs, adjusting settings and creating a navigation mesh so the enemy AI knows what surfaces can be walked on
- Adding a teleporter for the player to teleport to another area or scene
By the way, if you follow along with a Unity Learn tutorial and find yourself getting stuck, check to see if there are any comments on that step. Chances are, someone else has experienced the same issue and has advice on how to fix it.
For example, during the moving platform exercise I found my character would just fall straight off.
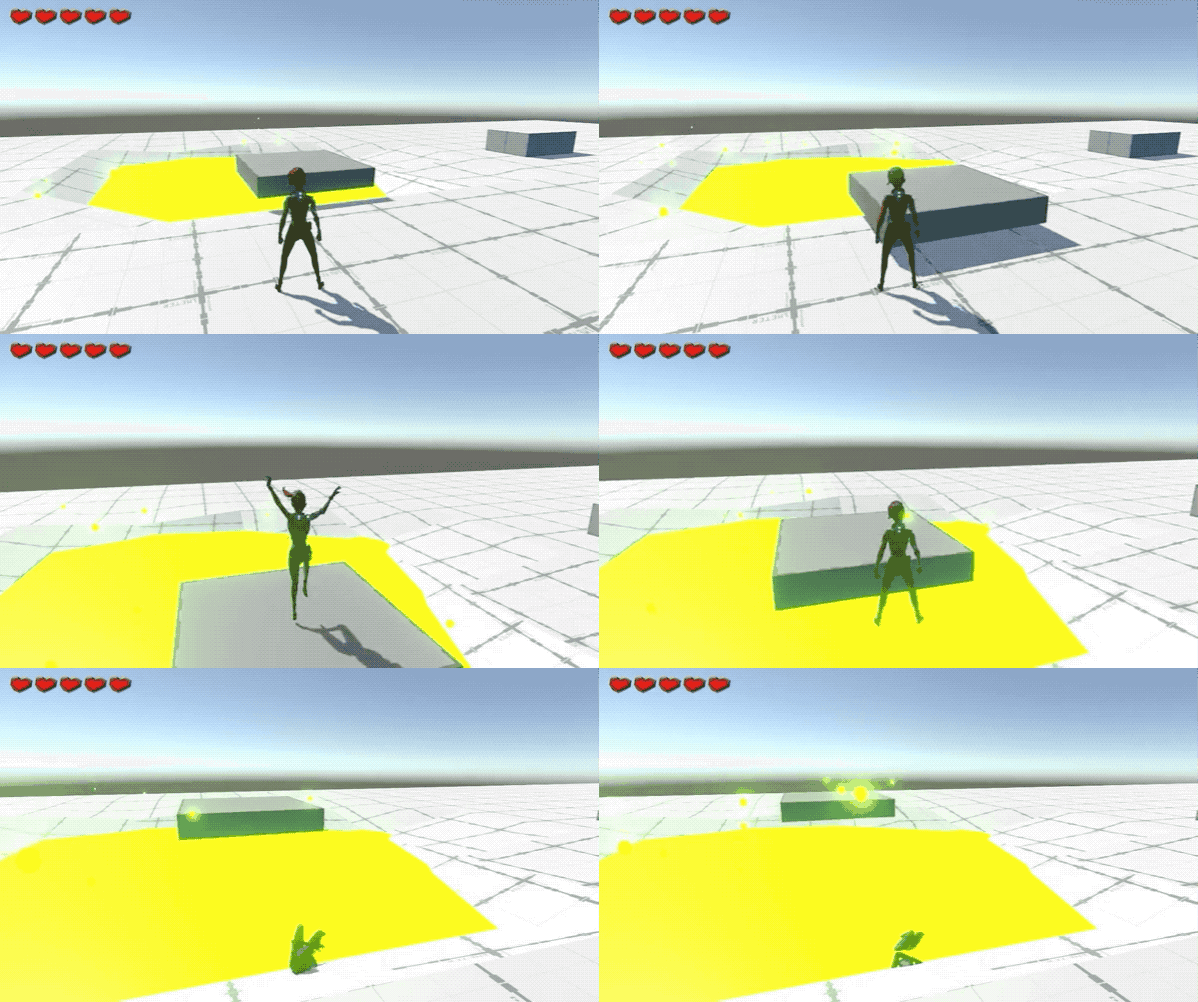
Like so!
Thanks to the comments, I discovered the reason was due to resizing the platform to a Y value less than 1. I guess this conflicted in some way with the box colliders but changing those figures didn’t fix it. I had a little look at the moving platform code but didn’t understand it, so I just increased the height of the platform and it was all good.
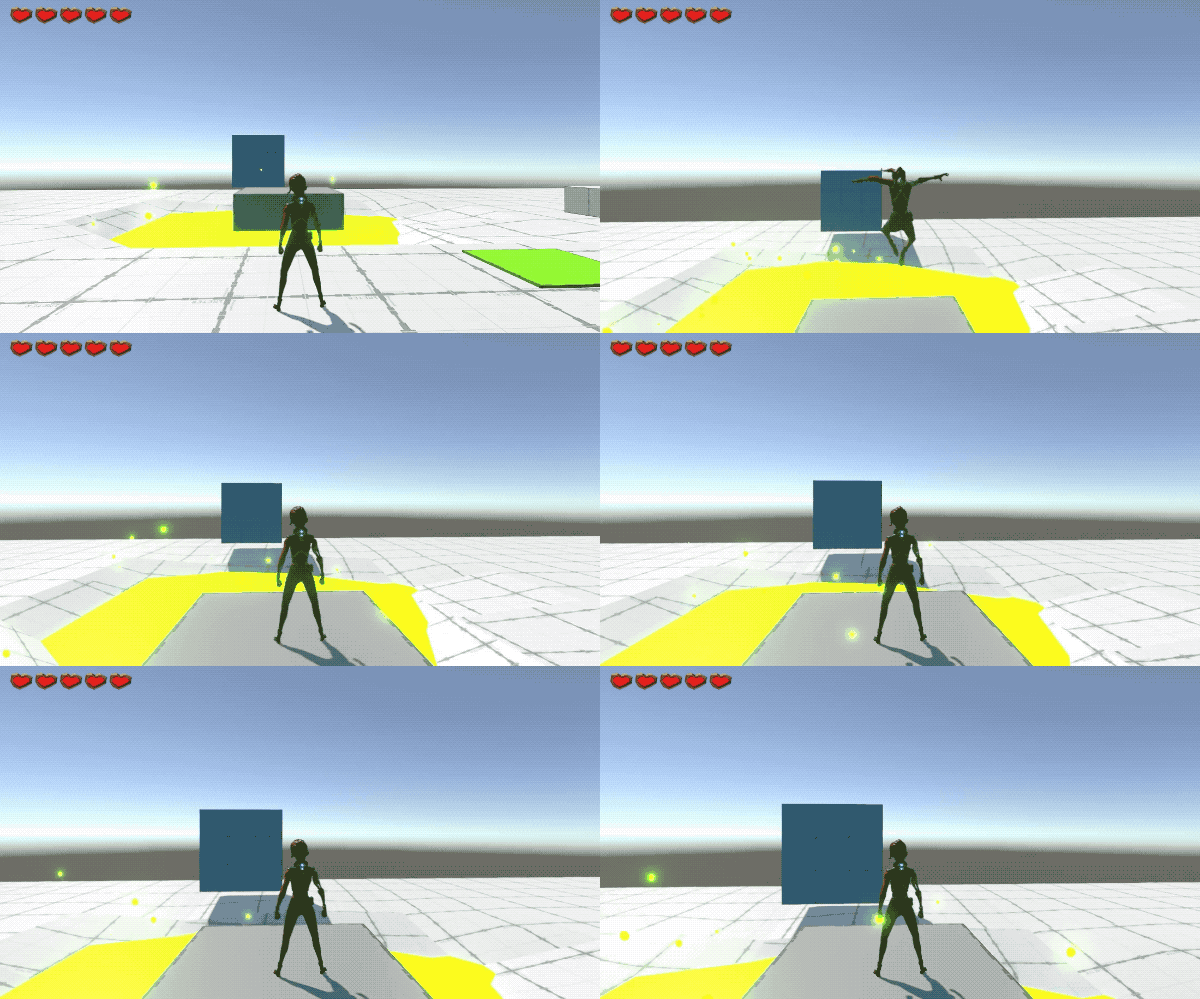
Um, ignore the cube.
The tutorial was estimated to take about 7 hours but it only ended up taking me about four. I have to admit I rushed the end a little because the ProBuilder cubes were irritating me so much I just wanted it to be over. Also, I wanted to learn how to design and code prefabs myself, instead of just dragging in assets that already exist. (I may live to regret this, we’ll see.)
Unity C# Survival Guide
I am currently 2 hours into this 23 hour course. It’s pretty freaking awesome so far but I’ll save my review until I’ve finished it. The thing that frustrated me most in the previous tutorials was not understanding how the scripts work, so actually learning C# is very exciting!
Blender Donut Tutorial 🍩
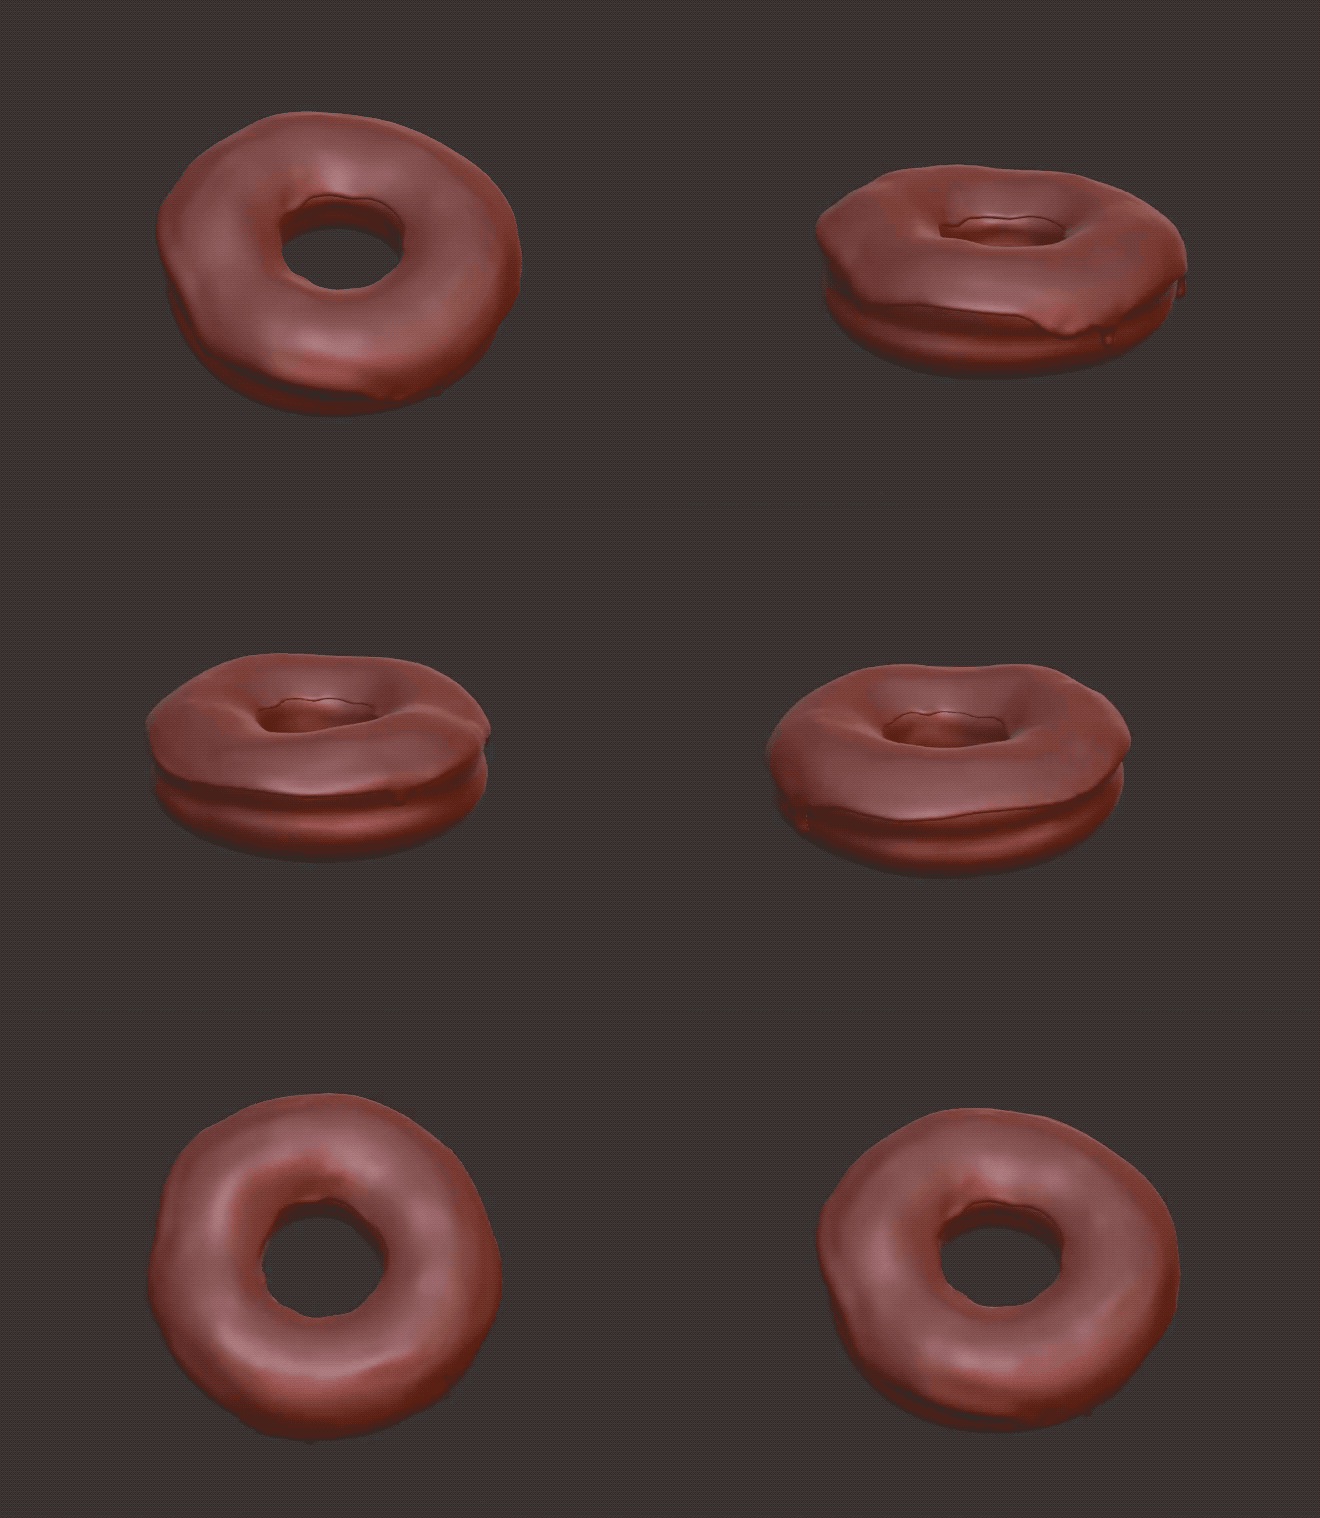
As a bit of a break from Unity, I started following a very well-known tutorial series on YouTube called the Blender Beginner Tutorial by Blender Guru. The original was published back in 2016 and completing it is somewhat of a rite of passage in the Blender community—so much so, there’s an entire subreddit where people share their first donuts.
I haven’t finished mine yet but here’s a sneak peek…
If you got this far, thanks for reading! If you have any tutorials or free courses you’d like to recommend, please let me know on Twitter. I’m still doing all of this on a 2013 MacBook Air (which is doing its very best!) so some things may have to wait until I’ve bought a new PC.
See you next time!
-
I’m still learning, but a prefab is basically a single file that contains its own little hierarchy of things and when you drag it into your project it appears as a group. It can be as basic as an object and a script, or as complex as an entire character with animations and sound effects. ↩
-
Can I just say this seems like a janky-ass solution? ↩